
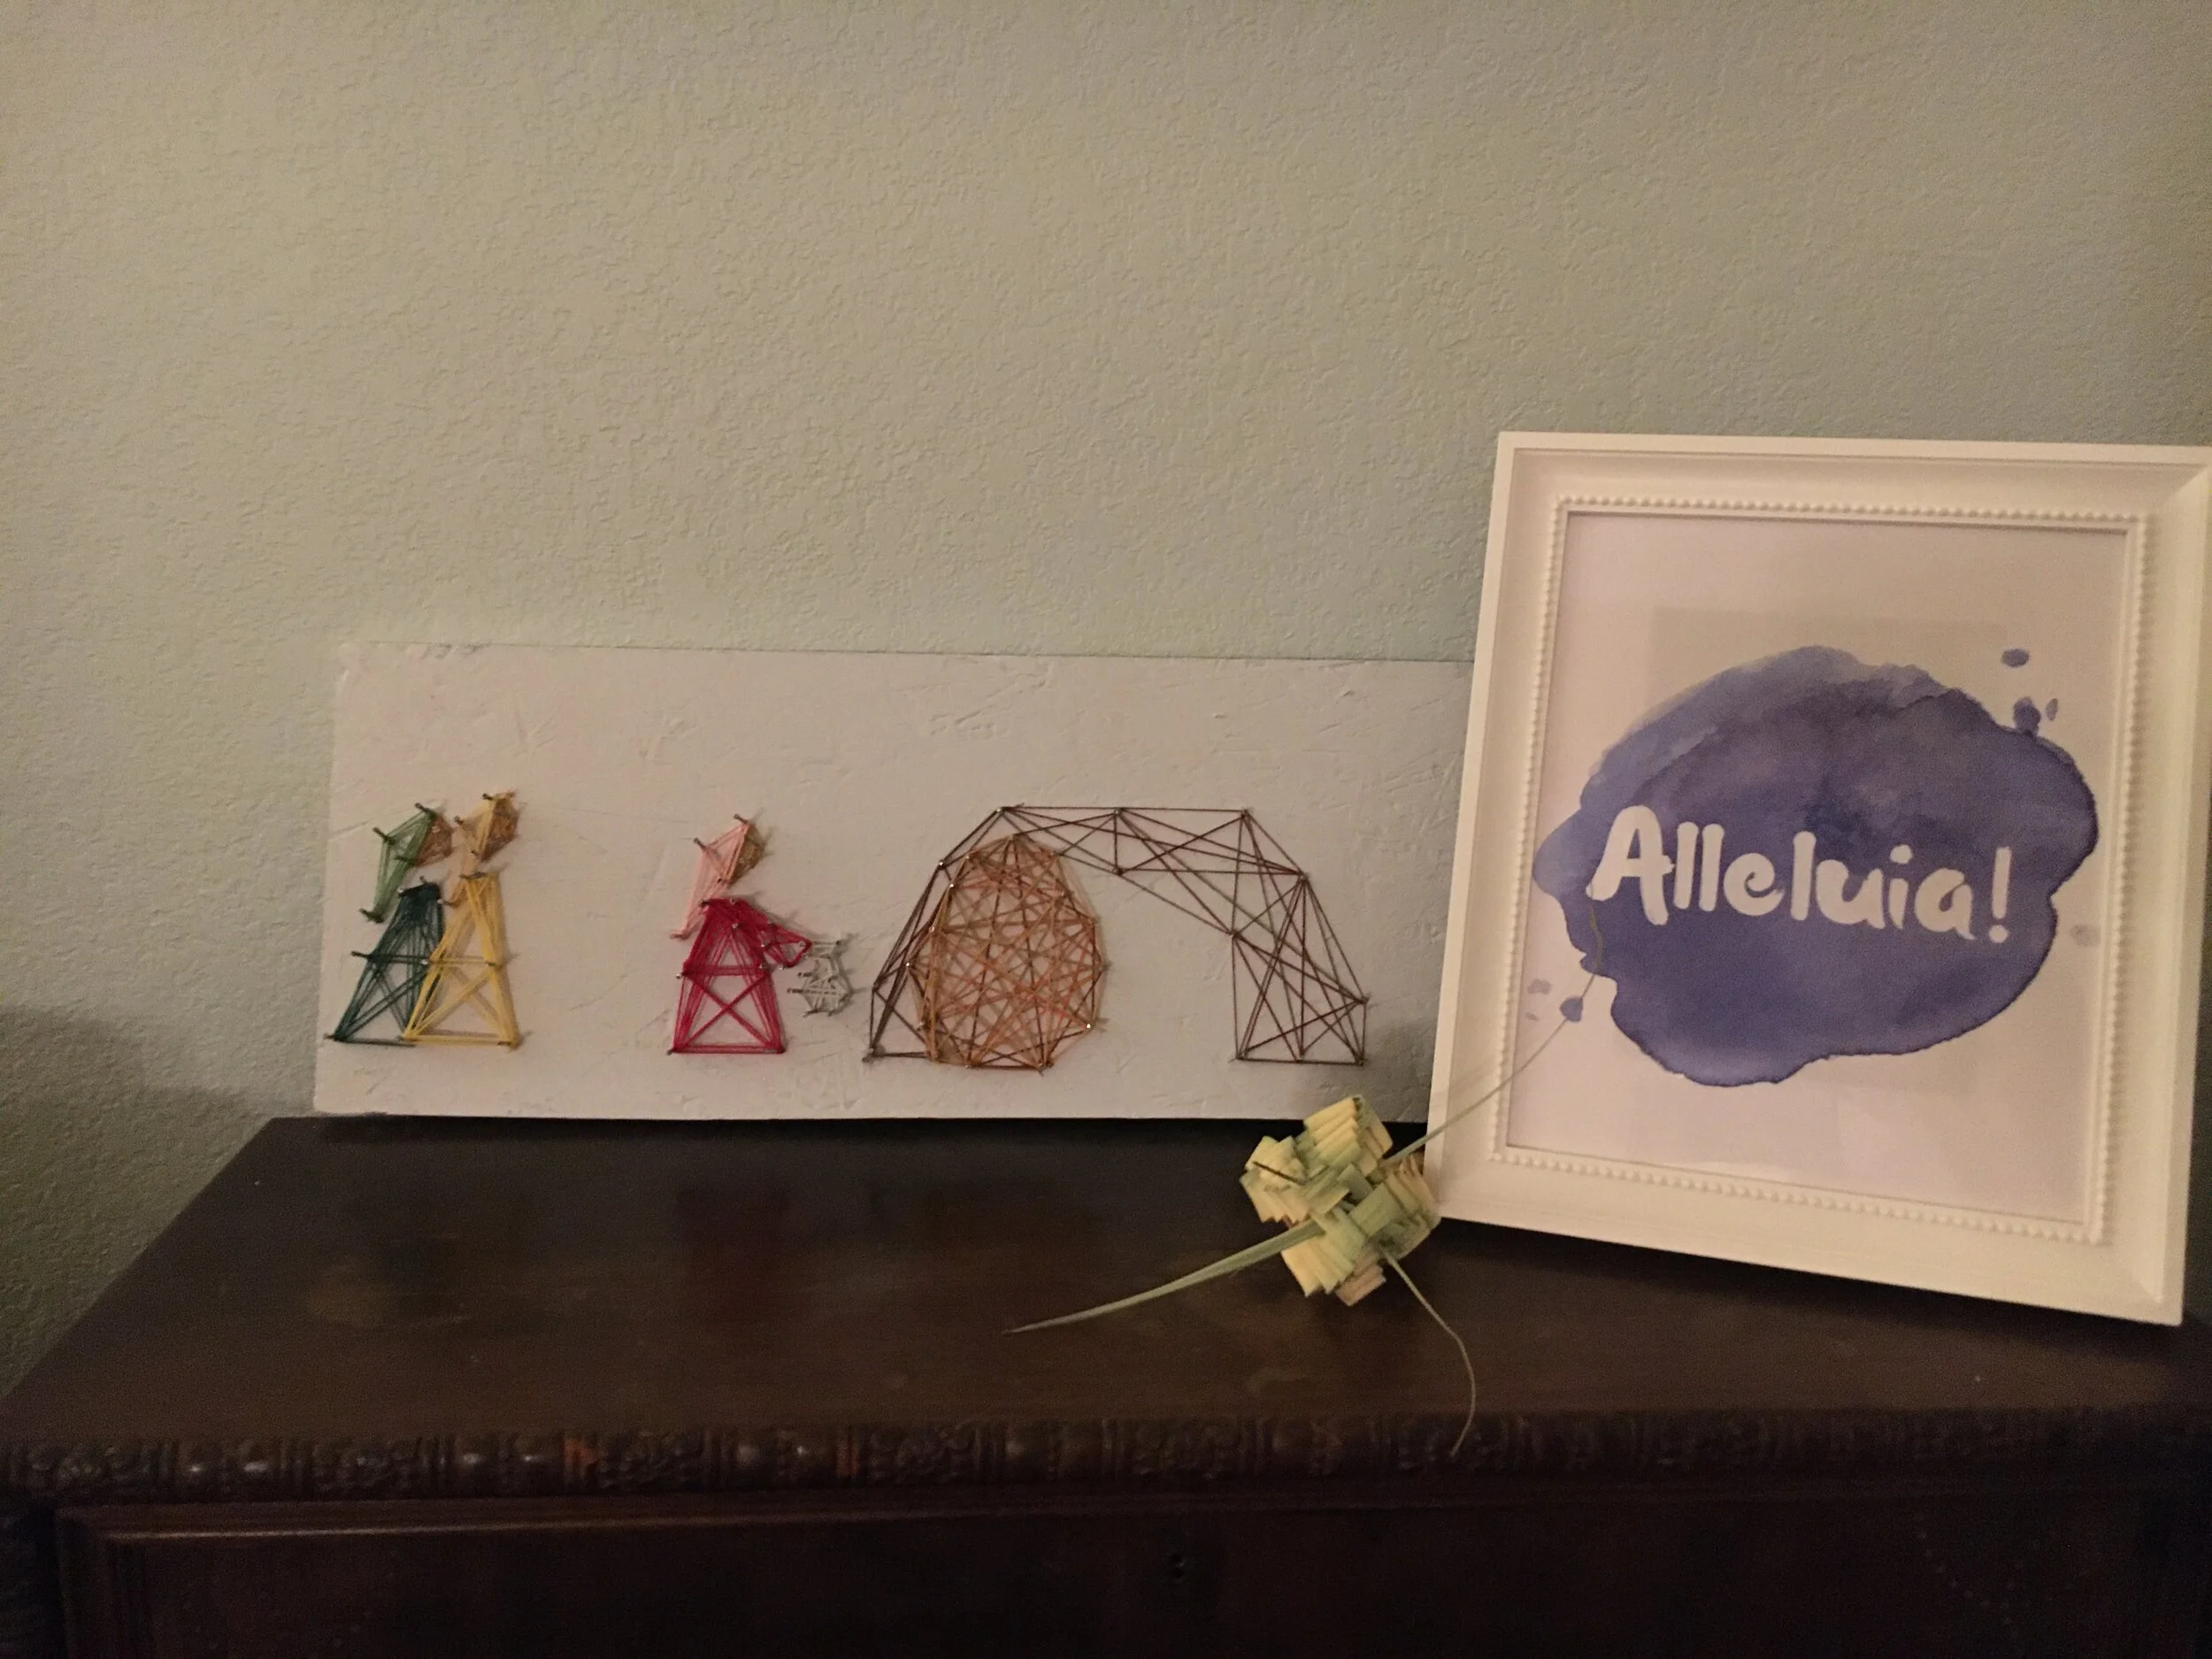
This project is super versatile. Feel free to try different materials and patterns. Share your creations with us on Facebook or by emailing pictures to Audrey at audreyg@stjoegold.org.


Step 1
Find a piece of wood and cut it to size. I used plywood we had left over from garage shelves. It wasn’t the nicest, but it worked just fine.
Step 2
Paint or stain the wood or leave it plain if you prefer. I used 2 coats of left over wall paint.
Step 3
Come up with a design or use one of ours. Draw the pattern on a paper and use masking tape to attach the pattern to the board.
Step 4
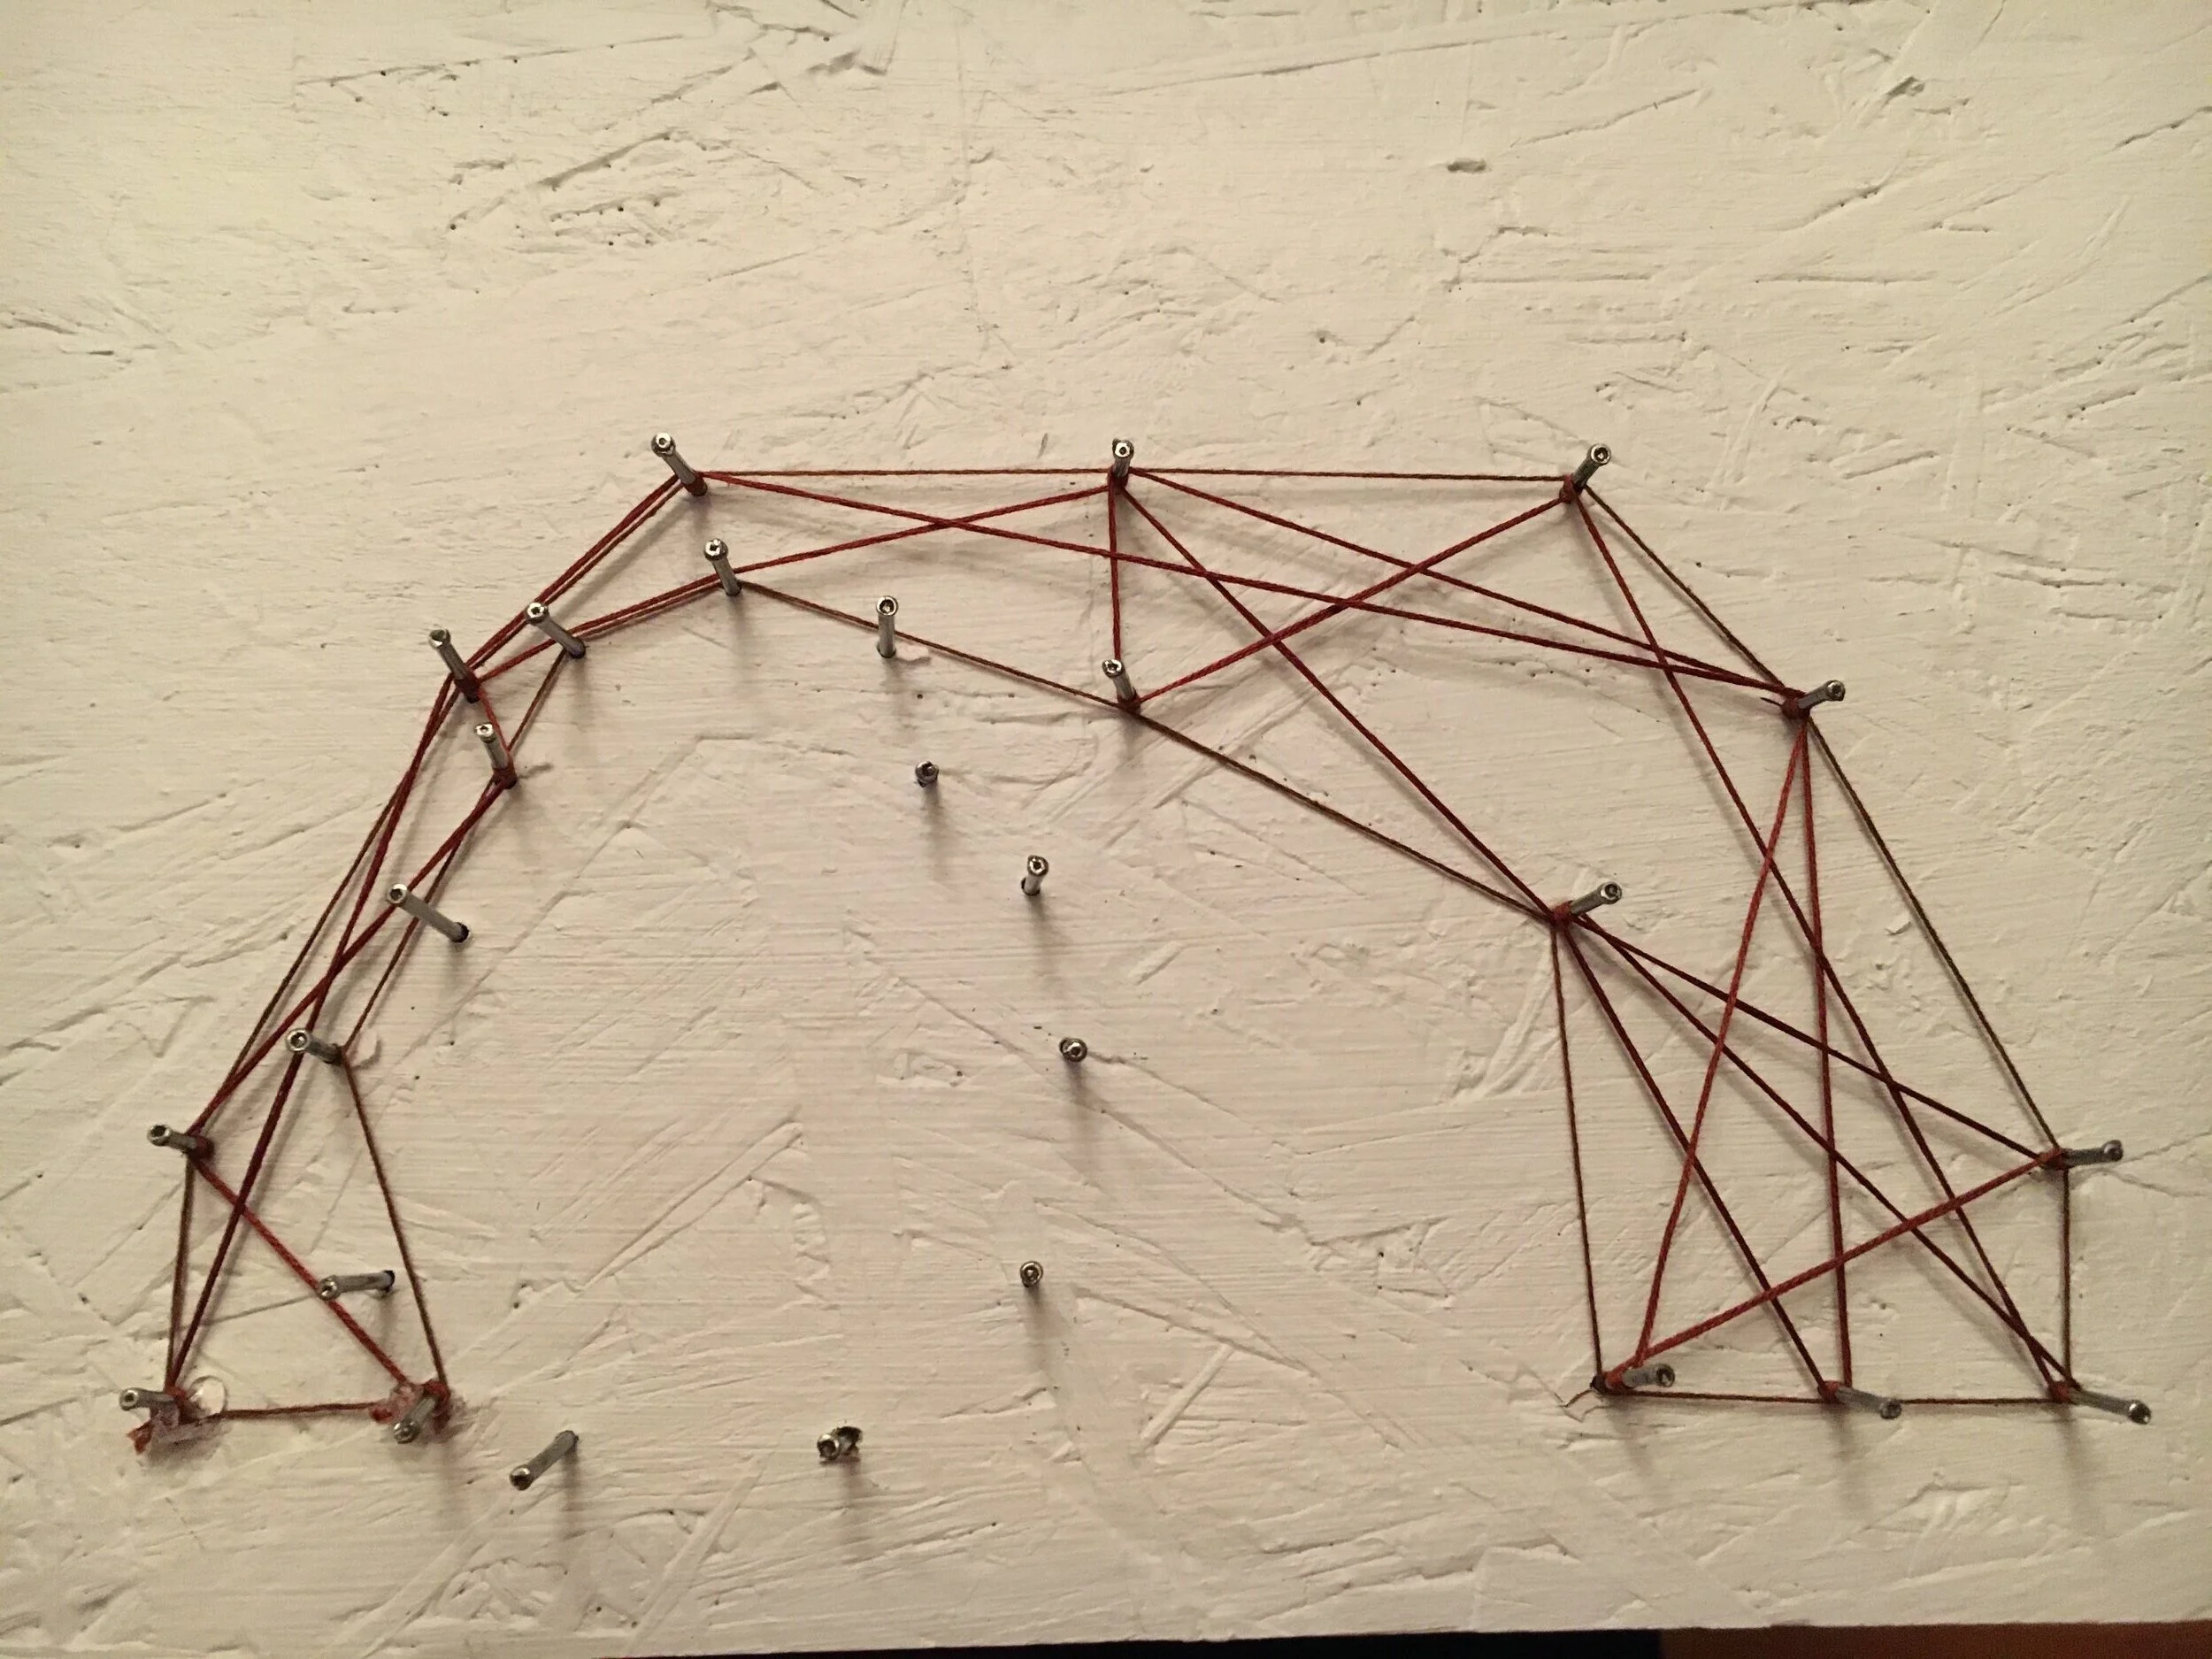
Nail a nail into each dot in your pattern. I sued finishing nails but feel free to use whatever you have on hand. Be aware of the length of your nail vs. the thickness of your wood. Rip off the paper pattern when done.
Step 5
Use string to create your design on the nails. I used embroidery floss but you can use whatever you have on hand. Start with parts of the design that will be at the back and work your way forward. Use as many colors as you want.
Please use caution when using saws and hammers and wear protective equipment.